


I practiced on a piece of old fender. The scratches were caused by a key. The original paint on the metal was sanded off mostly and replaced with Druplicolor black single stage (primer and a combination of base coat + clear). The fix used the same spray paint, and the method is a simple sand + primer + color with degreasing the work surface with alcohol in between.
Scratches in the paint
Here is what the panel looked like after scratching it.
The V-shaped scratch is the deepest one, that I scratched at multiple times, and the tip of the V is hit multiple times with the tip of the key.
The straight scratch is one single pass with the key.
The dots are what resulted from me hitting the paint gently with the key's tip.


I had already taped off the work area with something you shouldn't use: construction tape. This sort of tape peels the paint right off if it sits there too long as you'll see later. I just used it to see what would happen.
Sanding to smooth the surface
I then sanded down the paint using 400, then 600, then 800. I only went over the actual scratches with 400 and 600 to smoothen them out, but the entire area up to the painter's tape was hit with 800 so the new paint and primer can catch on.


You can see the severity of the scratches is very different quite clearly here.
I managed to smooth out the middle medium scratch easily, only sanding down to what looks to be the initial gray primer I had previously put on.
The taps were actually quite annoying for how easily I caused them.
The deep scratch shows bare metal in the middle, because that's how deep I went with it while scratching the paint. If the scratch went that deep I had to go that deep with the sanding as well, to get it smooth. I believe the visible layers are:
- Bare metal.
- The factory primer. (I didn't go through this layer when I first resrpayed the panel, as doing that would likely take away the protective layers under the primer too. Those are very important to prevent rust.)
- The spray primer I'd previously applied.
- The base part of the previous coat.
- The clear part of the previous coat.
I would've thought that those wouldn't sepparate this nicely, but they did a great job for being a combined coat. Impressive, for a product that cost around $5.
I actually didn't sand enough with 800. The jagged edges that you can see in the edges of the layers actually show through after applying the new color, I'll talk more about this later. Make sure to sand with 800 more than I did here and even go with higher grits if you still see jagged edges anywhere in the work area.
Applying (too little) primer
Below is the panel after applying 2 coats of primer. Applying more coats of primer at this stage would have covered up the jagged edges despite my poor final sanding.
You can actually see in the pictures that the primer is uneven, showing the spots where the sanding was done the most. If I do this again, I'd make sure that I could no longer tell where I sanded more or less before stopping with the primer.


You can see a droplet of water on there that I tried wiping off knowing full-well I shouldn't, just to see what happens. You will be able to see in the pictures taken after applying the color just why you should not do that no matter what.
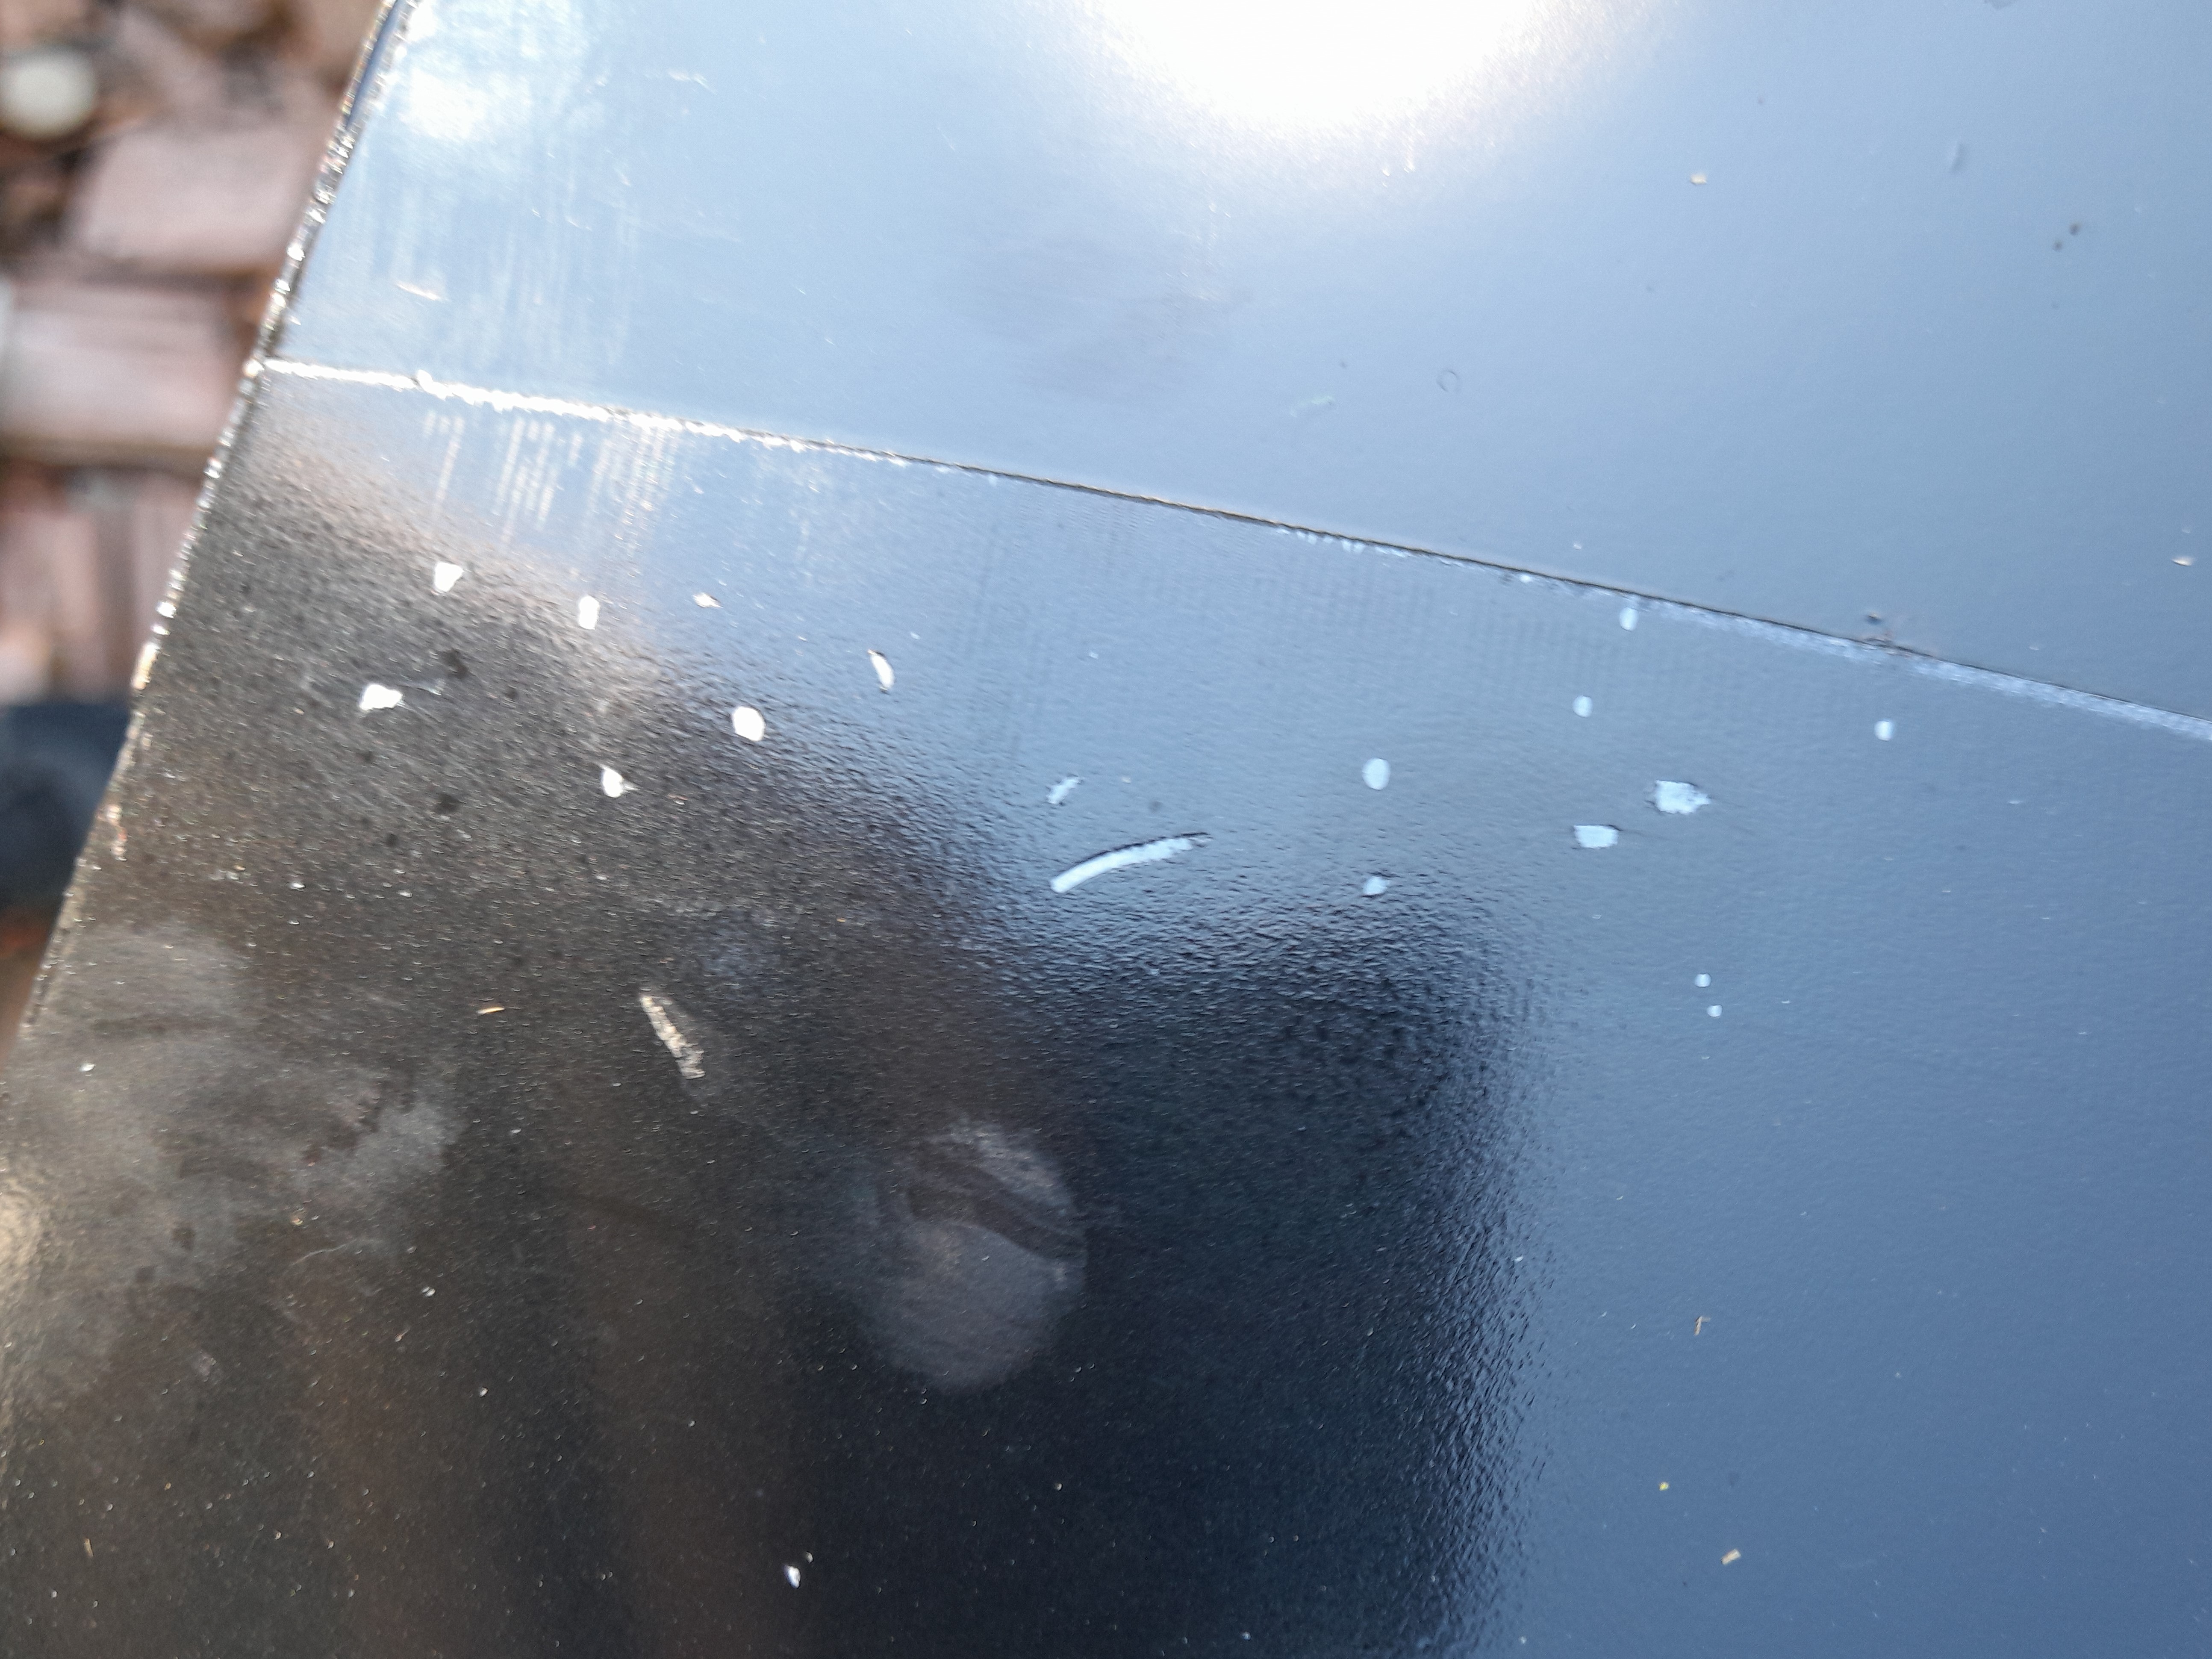
Color over to get the finished test panel


As you can see, the sanded areas are still clearly visible at the right angle and with the right light, but it's much less noticeable if you don't look for it intentionally. The place where the droplets were are by far the worst, please don't try to correct anything while the paint is still wet, this is the best example of that.
Overall the work turned out as I expected it to. It looks really good in the areas that weren't horribly scratched, but it does have some orange peel.
If you want to do this yourself, make sure that while you are spraying, you start and finish 1 spray OFF of the work surface. Generally follow Chris Fix's wheel spray painting guide if you do this.
Remember that I mentioned you shouldn't use construction painter's tape here? Well here's what it did to the paint.
The paint became very soft and mushy under that tape after only a few hours. Some of the paint chips happened as I peeled the tape off, but I could still very easily peel off paint with my fingernail whole days after I did this. Use only automotive painter's tape.
Takeaways
- Sand until you can see no jagged edges at all even if you think you're overdoing it.
- Primer until you can no longer tell where the scratches were.
- The primer also acts as a leveler. In fact, it doesn't offer much better adhesion for the base coat compared to just bare metal as I've read online.
- Work in the best insulated and controlled area you have, with no insects. In this case that drop of water happened because I was working in a damp garage as I didn't much care about this test panel.
- Make sure it's not too humid as well. Humidity will make the paint dry to a matte finish instead of the proper one. This actually happened to me while I was painting my wheels.
- Pick spray paint that is sepparate base coat and clear coat. The orange peel effect you see is likely caused by the mix of base coat and clear.
- Use proper automotive products while doing this. That construction tape especially is not to be used for such thing.